But not only am I leaving, Bringmeister as a company has already closed its doors. Since Saturday, the website is offline and Bringmeister is out of the race of online grocery delivery.
The Story of Bringmeister
 (Source: web.archive.org)
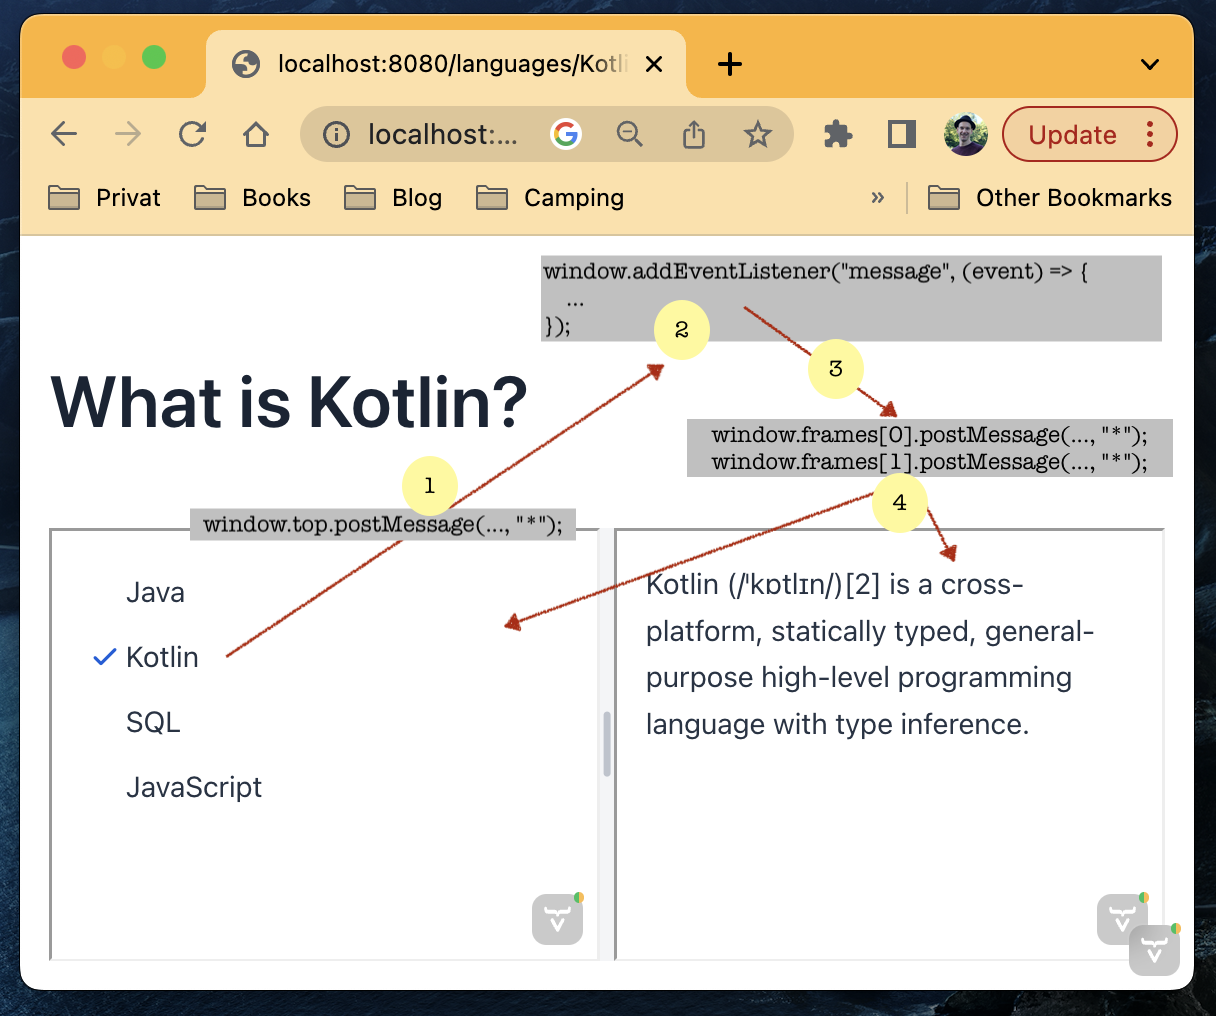
Although Bringmeister looks like a typical start-up (and felt like!), it has a long history. It was founded in 1997 (!) by Kaisers-Tengelmann in Berlin and was operating based on paper-catalogs. You could order by phone or fax.
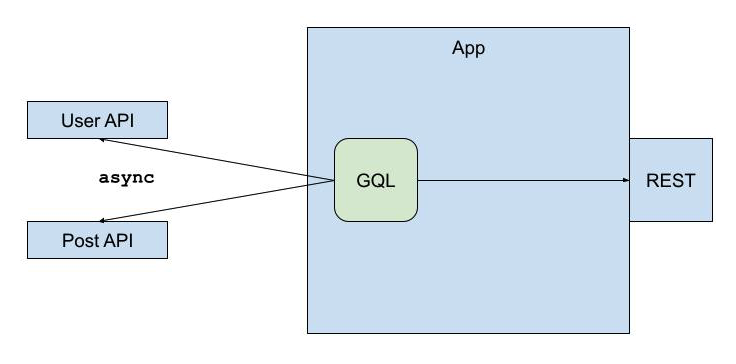
After Kaisers-Tengelmann closed their doors, Bringmeister went to EDEKA along with many stationary shops. This was the time I joined the team in 2018. EDEKA invested a lot of money and modernized old structures - including the software backend. The day I started, there were still laptops lying around in the office running production code. But things were about to change! EDEKA hired a lot of new people, and we re-wrote large parts of the old code base. And it was state of the art! Kotlin, Spring Boot, AWS, events - we did it the right way!
However, EDEKA was always reluctant to scale and grow the business. In my personal opinion, having a delivery service interfered with their local shops. So we were able to improve a lot of things, but we failed to grow.
Then came Corona 😷
Although this crisis was tough for everyone, from a business perspective it was a big accelerator. Orders went through the roof and the numbers looked real good. That was when EDEKA took their chance and sold Bringmeister to Rockaway Capital. For EDEKA it was the right timing, but not for Bringmeister.
Rockaway Capital promised a bright future. Growth! Scaling! New office! More people! Billion-Dollar-Company! A location in every big city! Everything sounded real good. Too good. But except of the office, nothing ever happened. After the initial welcome-pitches, nobody from Rockaway Capital was ever seen again. And a couple of months later, Bringmeister was desperately looking for a new investor to jump on board. Eventually Rockaway Capital sold Bringmeister again.
This time, Bringmeister went to Rohlik which is the owner of Knuspr - a direct competitor. And this takeover was even more unpleasant as the one before. The employees didn’t know anything about what was to happen. There was dead silence about any plans. From one day to the other, the whole C-level management was gone and Rohlik announced to layoff about 60% of the staff. A month later, the remaining employees followed and the message was through the door: Bringmeister will be closed.
Why Bringmeister failed

(Please keep in mind that I’m a software developer, not a business analyst and that the following is all my personal opinion.)
Bringmeister has always been a losing business (as many other online grocery delivery services, too). You need to invest a lot of money in order to get this kind of business started. And we actually did! Over the years, Bringmeister managed to get a positive contribution margin 1. But the scaling was missing. We never managed to get a foot into any new city or location besides of Berlin and Munich. EDEKA didn’t push it because of the competition with their local stores, Rockaway Capital didn’t push it because there was no genuine interest, and Rohlik just wanted to get rid of a competitor. After so many missed chances, it was time for a market consolidation.
Our success

The field of online grocery services is a tough battleground. Many have tried, many have failed. But Bringmeister did it as one of the pioneers for a long time. We managed to build a great web-shop, a great app and a great company behind the scenes. We made over 100 million euros of sales in 2023 and shipped over 20.000 orders per week. More than 20.000 products have been listed in our shop and we have been recognized by Stiftung Warentest as Testsieger among food delivery services. We created a state-of-the-art software backend fully on AWS with more than 50 microservices. And at least for my personal development, the last six years have been a big success.
Thank you

The last thing for me, is to say thank you to all of my old colleagues. For the vast majority of the time, Bringmeister was a great place to work and a big part of my life. I met extraordinary people, learned a lot of new things and had the personal space to grow and take ownership. I will miss those times for sure!
Read more
- https://www.supermarktblog.com/2023/08/15/auslaufmodell-bringmeister-lieferdienst-mit-angezogener-handbremse
- https://excitingcommerce.de/2024/04/18/bringmeister-wollte-2023-die-100-mio-euro-marke-knacken/
Best regards, Thomas.
]]>