Last year, I wrote an article about generating PDFs with Java and Flying Saucer using Thymeleaf HTML templates. The article covered all basic steps to generate a simple (text only) PDF file. However, I got some comments on how to include images or how to style the PDF. So let’s have a look at part 2.
Example on GitHub: https://github.com/tuhrig/Flying_Saucer_PDF_Generation
PDF rendering pipeline
The rendering of the PDF goes through several steps:
- First, we have a Thymeleaf HTML template. This template is populated with data by using the Thymeleaf rendering engine. The result is an HTML populated with our data. We could display this HTML as a web page (for example to check the result).
- Flying Saucer requires XHTML. So we need to transform the HTML to XHTML. To do so, we use JTidy. The result is a valid XHTML which we could still display in a browser.
- The XHTML file references CSS files and images, just as any ordinary HTML. The CSS styles the HTML and defines properties like page size or font.
- Finally, we pass the XHTML to Flying Saucer. Flying Saucer will convert the XHTML to a PDF using the images and styles defined in the CSS. The result is our final PDF file.

Example
I’ve created a running example which is available on GitHub:
https://github.com/tuhrig/Flying_Saucer_PDF_Generation
I will refer to this example in the following.
Styling with CSS
We can style our PDF by using CSS. We just need to include the CSS in our HTML as normal:
<html>
    <head>
        <meta charset="UTF-8">
        <link rel="stylesheet" type="text/css" media="all"  href="style.css" />
    </head>
    <body>
        ...
(See on GitHub)
In the CSS we can style the PDF just as normal HTML:
// ...

.logo {
    width: 275px;
}

h1 {
    font-size: 18px;
    margin-bottom: 40px;
    margin-top: 40px;
}

p {
    font-size: 12px;
}

// ...
(See on GitHub)
The tricky part is to apply CSS rules which are used for printed pages and are rarely found on normal web pages.
An example for such a CSS rule is @page.
This rule defines properties such as the page size or orientation (landscape vs. portrait).
Flying Saucer will use these rules in order to generate the PDF (which actually is a printed version of a web page).
Here’s an example on how to set page properties for our PDF:
@page {

    margin-top: 3.3cm;
    margin-left: 2cm;
    margin-right: 2cm;
    margin-bottom: 3.3cm;

    size: A4 portrait;
}
(See on GitHub)
More about @page: https://www.tutorialspoint.com/css/css_paged_media.htm
Images
It shouldn’t be a surprise that images work pretty much as expected. We just include them in our HTML and Flying Saucer will include them in the PDF:
<tr>
    <td><span class="barcode">*TEST BARCODE*</span></td>
    <td class="right"><img class="logo" src="logo.png"></td>
</tr>
(See on GitHub)
However, it might be tricky to find the right place for the images (and CSS files) in your project.
When executing Flying Saucer in a unit test - just as I did in my example - the working directory will be the project root.
So all images and CSS files must be referenced relatively from there.
If the HTML refers to an image logo.png, this image must be in the root folder of the project.
But note that this highly depends on your project setup and how you generate the HTML.
Result
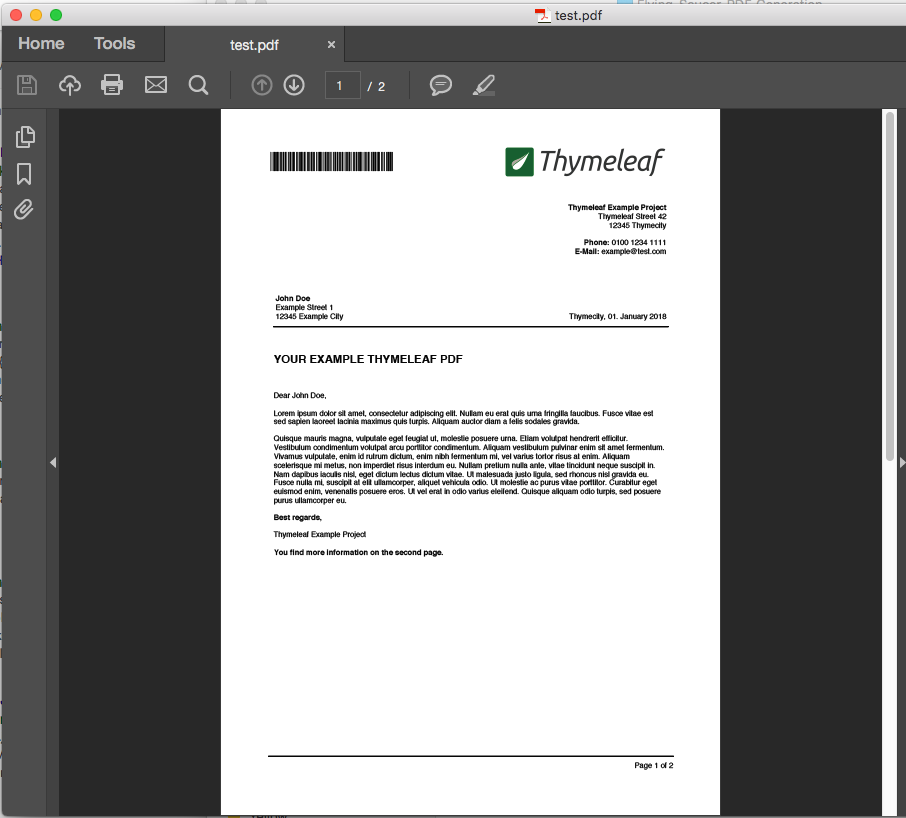
(See PDF)
More
- Part 1 of this article
- GitHub project
- Flying Saucer for PDF generation
- Thymeleaf for HTML generation
- JTidy for HTML to XHTML conversion
Best regards, Thomas.